|
When I began this project, I had many ideas and of how the land was going to look like. I created some hills and placed a little river in the scene, and then I was faced with how the flowers, rocks, and mushrooms were going to be placed. I started with just putting them in randomly, but later changed them so they were more evenly spaced and not blocking one another one I decided what angle I was going to render the scene from. When having a lot of models, its easy to get overcrowded, so I had to change the direction many things were facing as well as their location to make it look a little better. For example, I originally had a bunch of things on the mountain side of the river, but had to move them because they blocked each other. I used a lot of surface modeling on the mushrooms, since you needed to taper them and use the vertices very specifically, and I also used it on the river and land. The land was to make hills, and in the river I tried to create an uneven pattern so I wasnt all even. Sometimes, I didint get it how I wanted to, and I had to do it over and over again till I got it. I used modifiers especially on rocks, because it is what it gives them most of their shape. With modifiers you can make something look rnadom and uneven in just a couple of seconds, truly cutting the workload. I also used modifiers on the top of the mushrooms, like Noise, to make them seem more realistic. I expiremented with the modifiers they told us to use, but I also tried incorporating Bend. I used edit poly to edit the rocks sometimes and often messed with the numbers in Noise to see what they would do. My favorite is the Rougness option, which makes things look rougher but more crystalized. I think this caused the project to look more unique, and I think that is what truly matters in art. I think my scene achieved the desired level of cohesion because I worked hard on it and tried as many unique things that came to mind, like the river sunken into the ground. Some chnges I would do is spend more time on my bug, since I didint really have any more ideas for it. Maybe I could make more that were different shapes and sizes. Overall, though, this was really pleasant project and I enjoyed it a lot.
0 Comments
Flowers, Mushrooms, and Rocks. All a lot more complicated than someone would think. Some of them, like Mushrooms and Rocks, can be made using just a sphere or a cylinder, but flowers, being more complex, need several primitives to make them up. Creating the flowers were probably one of the hardest to make, since there were many parts I needed to keep track of. This is why it is so impotant to name your peices so you know what you are moving, especially when you import a model into another file. I tried messing around with the petals for the last flower, bringing them out and making them more 3d. While it was cool, some angles looked a little wierd, but I will try to make them better in the future with more expirementing. The mushrooms were the first things I started with, and I found it cool how MeshSmooth and and Noise modifiers added the smooth look and randomness to the mushroom. I expiremented with their heights and sometimes smooshed them. Last but not least, I made some rocks. Some I tried modifying the shape while it was still a sphere, and others I switched right to the modifiers. These were probably the easiest to do, since the only thing there was to it was to enter some numbers and viola!, I had a rock. Using roughness created the rock on the far left, that looks a little like a crystal, and using MeshSmooth on the other rocks caused them to look more like river rocks. With all this skills learned, I am excited to apply them in making more 3d flowers, creating mushrooms in all shapes in sizes, and rocks that nobody even dreamed of before. With these modifiers added to my tool belt, I can now modify other models and make them more random, especially if Im making something in nature. This leasson would be better if we learned how to make the flower petals look even more liflike and popping out towards you. Other than that this was a very pleasant project. eAfter finishing my surface modeling project of a tank, I soon became bored and wondered what I should do. I noticed this assignment and quickly jumped on it. This assignment was very fun becaue 1) We're making a spaceship and spaceships are cool and 2) It taught me more in depth surface modeling. Now that I know the purpose of all the buttons in the surface modeling tab, I can go to town creating the wierdest things with a single box. The easiest part of the project was adding new elements to the spaceship that were not in the tutorial, and the hardest was remembering which little button had to be pressed when I clicked ring. My memory is not great. I dont think this lesson needs any improvment because its already fun as it is. Maybe more spacechips of something.
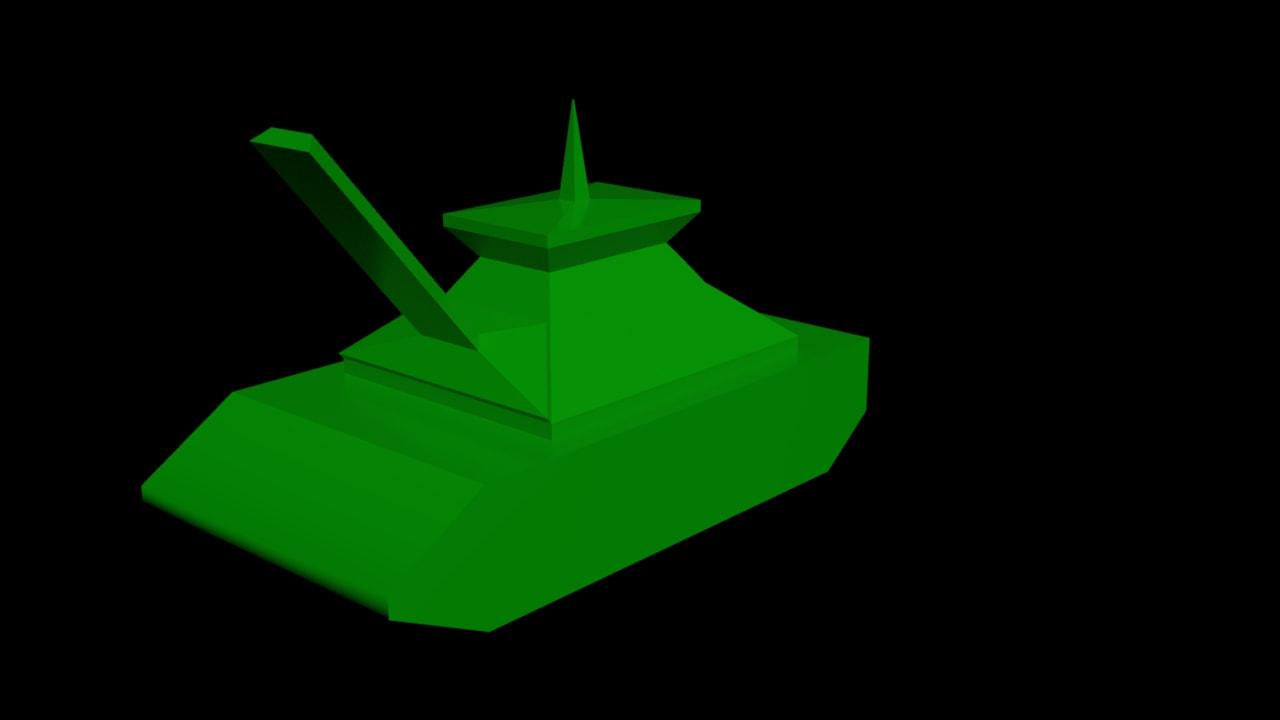 I began this project with a box. Yeah, a box. Most people would stare dumbfounded at the tank and wonder how a simple box made a minature version of a two hundred pound war machine. The trick is surface modeling. Using cerain settings you get when you divide up the box and convert it into an editable poly, you can in fact lift faces and make them different sizes. I liked that this project taught me how to use surface area modeling, which I definetly will use more. The most difficult part was getting it excactly how I wanted it, but otherwise it was a very easy project. Perhaps something difficult was thinking how I could change it, but after some playing around with the top I got something I liked. I can use this lesson by showing that a little playing around could give me something I like. This is especially important in other art forms. My knowledge of 3D modeling expanded because I now know new tricks for modeling without having to make too many primitives. I think this lesson would be better if we had more things to practice, but it was a very good introductory lesson nevertheless.
|
Disclaimer StatementThe views and opinions expressed in this blog are solely those of the author and do not represent those of Chapel Hill HS or Chapel Hill-Carrboro City Schools. Categories
All
Archives
April 2024
|
 RSS Feed
